Master Interview Online Practice for Confident Performance

Struggling to stand out in remote interviews feels frustrating, especially when small details threaten your first impression. For many non-native English speakers applying to international tech roles, the pressure to appear both confident and clear on camera is high. By focusing on creating a professional virtual interview environment, practising targeted questions, and seeking actionable feedback, you set the stage for real improvement and greater impact in your next meeting.
Table of Contents
- Step 1: Set Up Your Interview Online Practice Environment
- Step 2: Select and Respond to Realistic Interview Questions
- Step 3: Evaluate Your Performance with Actionable Feedback
- Step 4: Refine Answers and Track Your Progress Over Time
Quick Summary
| Primary Insight | Clarification |
|---|---|
| 1. Create a Distraction-Free Environment | Select a quiet, private space to practice, ensuring no interruptions that can undermine your performance. |
| 2. Use Proper Lighting and Camera Positioning | Position your camera at eye level and ensure soft lighting in front of you for professionalism and clarity. |
| 3. Focus on Relevant Interview Questions | Identify common interview questions related to your targeted role, practising answers that demonstrate key competencies effectively. |
| 4. Evaluate Your Performance Objectively | Review recordings of your practice sessions to pinpoint specific areas for improvement rather than general observations. |
| 5. Track Progress Regularly and Iteratively | Maintain a progress tracking system to monitor your improvements and ensure sustained development through consistent practice. |
Step 1: Set Up Your Interview Online Practice Environment
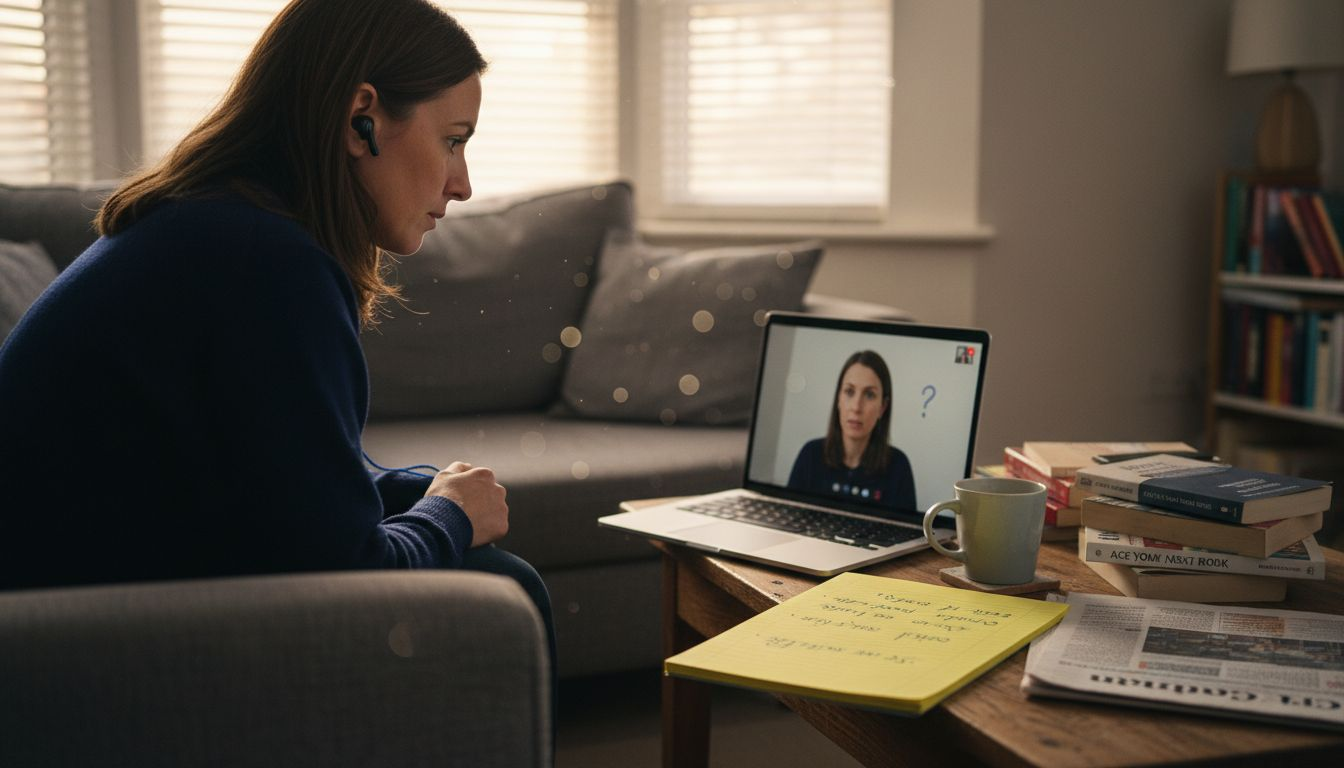
Your physical space has a direct impact on how confident and professional you appear on camera. Before you start practising your answers, you need to create an environment that mirrors real interview conditions and eliminates distractions that could undermine your performance.
Start by choosing a quiet, private room where you won’t be interrupted. This is non-negotiable. Background noise from traffic, housemates, or pets will distract both you and the interviewer, breaking your focus and theirs. Close windows, silence your phone, and ask others in your space to avoid the area during your practice sessions.
Positioning and lighting matter far more than most people realise. Your camera should be at eye level to avoid unflattering angles that make you look uncertain or disengaged. Stack books or adjust your monitor height so the lens aligns with your eyes. This creates a sense of equal footing with the interviewer.
Lighting should be soft and professional. Place a light source in front of you, never behind you. Bright light from a window or lamp behind your head creates a silhouette effect and makes it impossible for the interviewer to see your facial expressions. If natural light is your only option, position your desk facing the window rather than away from it.
Before your first practice session, test these technical elements:
- Internet connection: Run a speed test to ensure your upload and download speeds are stable. Lag or disconnection during interviews damages credibility.
- Camera and microphone: Check that both are functioning clearly. Test your device beforehand by recording a short 30-second clip and reviewing it.
- Background: Use a clean, neutral backdrop. Your bookshelf, a plain wall, or a professional virtual background all work. Avoid cluttered spaces.
- Interview software: Familiarise yourself with the platform you’ll use. Know how to mute, unmute, and share your screen if needed.
Your desk itself should be clear of clutter. Water bottles, notebooks, or personal items visible in the frame distract from your message. Keep only what you need within arm’s reach.
Your environment is your first non-verbal communication. It signals professionalism and preparation before you speak a single word.
Professional tip: Record a short test video on your setup and review it with fresh eyes. Pay attention to what distracts you visually, where light hits your face, and whether you can hear yourself clearly. This 5-minute test saves hours of wasted practice on a suboptimal setup.
Step 2: Select and Respond to Realistic Interview Questions
Practising with the right questions makes all the difference. You need to focus on questions that actually appear in your field and role level, not generic ones that waste your preparation time.
Start by identifying the core competencies your target role requires. Read the job description carefully and note which skills appear repeatedly. For a senior tech role, this might include system design, cross-team collaboration, and handling ambiguity. For a product management position, it could be strategic thinking, stakeholder management, and data-driven decision making. These competencies shape which questions you should practise.
Common interview questions typically fall into two categories: behavioural questions and situational questions. Behavioural questions ask “Tell me about a time when…” and require you to draw from real past experiences. Situational questions present hypothetical scenarios and ask how you would respond. Both types test whether you have the competencies the role demands.
Here is a comparison of behavioural vs situational interview questions to help you choose the right practice focus:
| Type of Question | What It Assesses | Example Prompt |
|---|---|---|
| Behavioural | Real-world past experience | “Tell me about a time you…” |
| Situational | Hypothetical problem-solving skill | “How would you handle if…” |
For behavioural questions, use the STAR method to structure your response. Describe the Situation, Task, Action, and Result. This framework ensures your answer is specific, concise, and directly tied to the job requirement. Vague answers like “I worked hard” fail. Specific ones like “I led a migration of 500 users to a new platform, reducing support tickets by 40%” succeed.
Prepare 5 to 7 strong stories from your professional history before you start practising. Each story should demonstrate a different competency. You’ll reuse and adapt these stories across multiple questions, so choose examples that showcase impact:
- A time you solved a complex technical problem
- A situation where you had to influence stakeholders without direct authority
- An example of how you handled feedback or failure
- A project where you collaborated across teams
- A moment you took initiative beyond your job description
Once you have your stories, research the organisation and role thoroughly so you can tailor your answers. An answer that impresses at a startup might miss the mark at an enterprise company. Your job is to show how your experience solves their specific problems.
Your answer should prove competency through concrete evidence, not just claims. The interviewer remembers stories, not adjectives.
Record yourself answering each question multiple times. Your first attempt will feel awkward. By your third or fourth attempt, you’ll find the rhythm and clarity that comes from genuine confidence.
Professional tip: Practise questions in random order rather than sequentially. This forces you to think instead of recite, building the genuine confidence that translates to real interviews.
Step 3: Evaluate Your Performance with Actionable Feedback
Watching yourself on camera is uncomfortable. Most people cringe at their own voice, their pauses, their hand movements. But this discomfort is where real improvement happens. You need to move beyond “that felt bad” to identifying specific, changeable behaviours.
After each practice session, review your recording with fresh eyes. Wait at least a few hours before watching so you gain some distance from the experience. This helps you evaluate objectively rather than emotionally.
Focus your evaluation on these concrete areas:
- Clarity: Did you articulate words clearly, or did they blur together? Could someone understand you on the first listen?
- Pacing: Did you rush through your answer or drag it out? Did you pause for breath in natural places?
- Filler words: How many times did you say “um,” “like,” or “you know”? Even one per minute is noticeable.
- Eye contact: Were you looking at the camera or staring at your notes? Does it feel like you are speaking to a person?
- Body language: Were your shoulders tense? Did your hands distract from your message?
Clear, actionable feedback moves beyond vague observations. Instead of “I sounded unsure,” identify what created that impression. Was it your word choice? Your inflection? Your pace? Specificity transforms feedback into steps you can actually take.
Score yourself on a scale of 1 to 5 for each area. Aim for consistency, not perfection. A 3 in clarity on attempt one, a 4 on attempt two, and a 4 on attempt three shows progress. This tracking builds confidence because you see measurable improvement.
Compare recordings across multiple attempts. Listen to your first answer to a question, then your third. The difference is often dramatic. Your third attempt will feel more natural because you have stopped thinking about what to say and started focusing on how to say it convincingly.
The goal of feedback is not to judge yourself. It is to gather data that guides your next practice session.
Identify your most persistent weakness. For many non-native English speakers practising for senior tech roles, filler words or rushed pacing emerge as the primary issue. Others struggle with eye contact or confident pausing. Choose one weakness to target in your next session. Small, focused improvements compound faster than trying to fix everything at once.
Professional tip: Record yourself answering the same question on days 1, 3, and 7 of your practice schedule. Comparing these three recordings shows real progress and builds momentum when motivation dips.
Step 4: Refine Answers and Track Your Progress Over Time
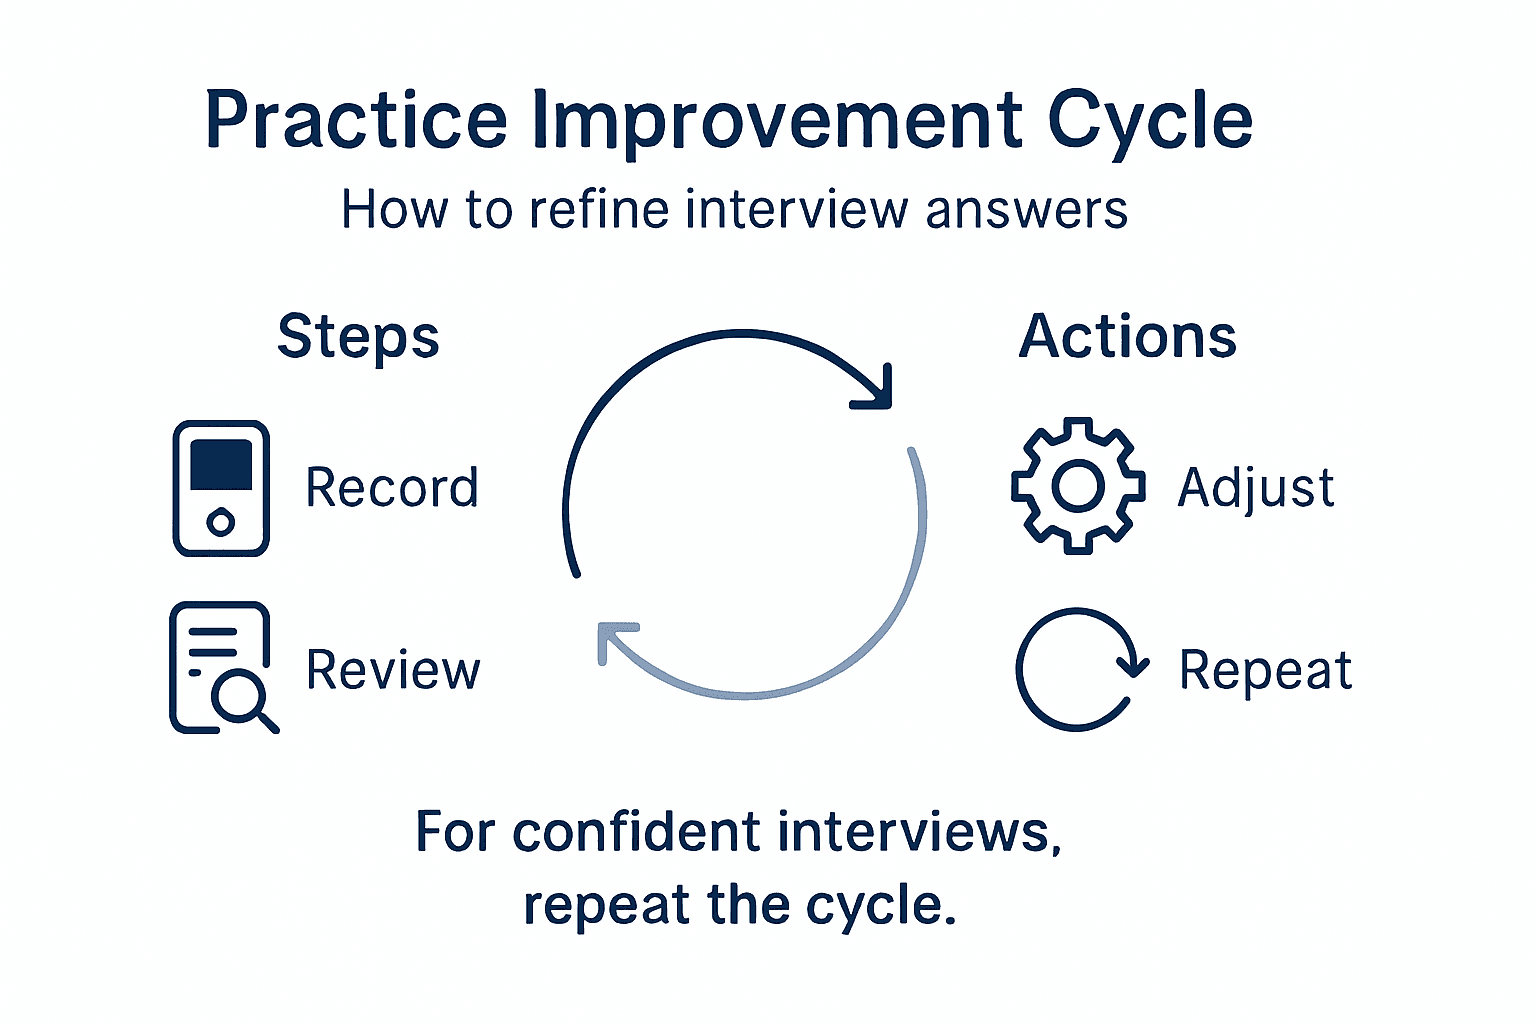
Refinement is not a one-time event. It is a cycle of recording, reviewing, adjusting, and recording again. This iterative approach transforms your answers from rough to polished, building genuine confidence in the process.
After identifying weaknesses in Step 3, return to the same questions and record yourself answering them again. This time, consciously apply the specific changes you identified. If you noticed rushed pacing, slow down deliberately. If filler words dominated, pause instead of filling silence. Record multiple attempts of the same question until you feel the shift.
Self-refinement through iteration means generating an answer, receiving feedback on it, and improving the response repeatedly. This mimics how successful professionals actually prepare. You are not aiming for perfection on attempt one. You are building a refinement system that compounds over weeks.
Create a simple tracking system to monitor your progress. You do not need anything complex. A spreadsheet with these columns works perfectly:
You can use this sample progress tracking table to systematically monitor your interview answer improvements:
| Question Practised | Attempt Date | Clarity (1-5) | Filler Words Count | Key Improvement Noted |
|---|---|---|---|---|
| Handling feedback | 2 May | 4 | 2 | Smoother pacing |
| Influencing stakeholders | 3 May | 3 | 5 | Fewer filler words |
| Cross-team project | 5 May | 5 | 1 | More confident delivery |
- Question: The interview question you practised
- Attempt date: When you recorded it
- Clarity score: 1-5 rating
- Pacing score: 1-5 rating
- Filler words: Count them
- Notes: What improved or what still needs work
Progress tracking systems should fit your style and goals, remain time-efficient, and be reviewed regularly. Tracking trends helps you identify patterns. You might discover that your clarity improves fastest while filler words take longer to eliminate. That data guides where to focus your effort.
Compare recordings from week one to week three. The difference is often striking. Your third week version will sound more natural, more confident, and more senior. This visible progress is what sustains motivation through the final weeks of practice.
Set a target number of attempts per question. Most professionals benefit from five to eight clean recordings per question before moving to a new one. Your fifth attempt will differ dramatically from your first because you have stopped worrying about content and started delivering it naturally.
Progress is not linear. Some days your answers feel stronger than others. What matters is the overall trajectory, not any single recording.
Schedule your practice sessions consistently rather than cramming. Three 30-minute sessions per week, sustained over four to six weeks, produces better results than one intensive weekend. Consistency allows your improvements to solidify at the neurological level, becoming automatic rather than forced.
Professional tip: Set a reminder to review your first recording halfway through your practice schedule. Hearing how far you have progressed reinvigorates your commitment and proves the method works.
Boost Your Interview Confidence with Pavone.ai Practice Tools
The article highlights common challenges like maintaining clarity, managing filler words, mastering pacing, and projecting confidence during online interviews. These issues often leave candidates feeling uncertain and overwhelmed despite thorough subject knowledge. Pavone.ai directly addresses these pain points by providing a dedicated platform where you can record real interview-style answers and receive immediate, personalised, and actionable feedback focused on how you communicate – not just what you say.
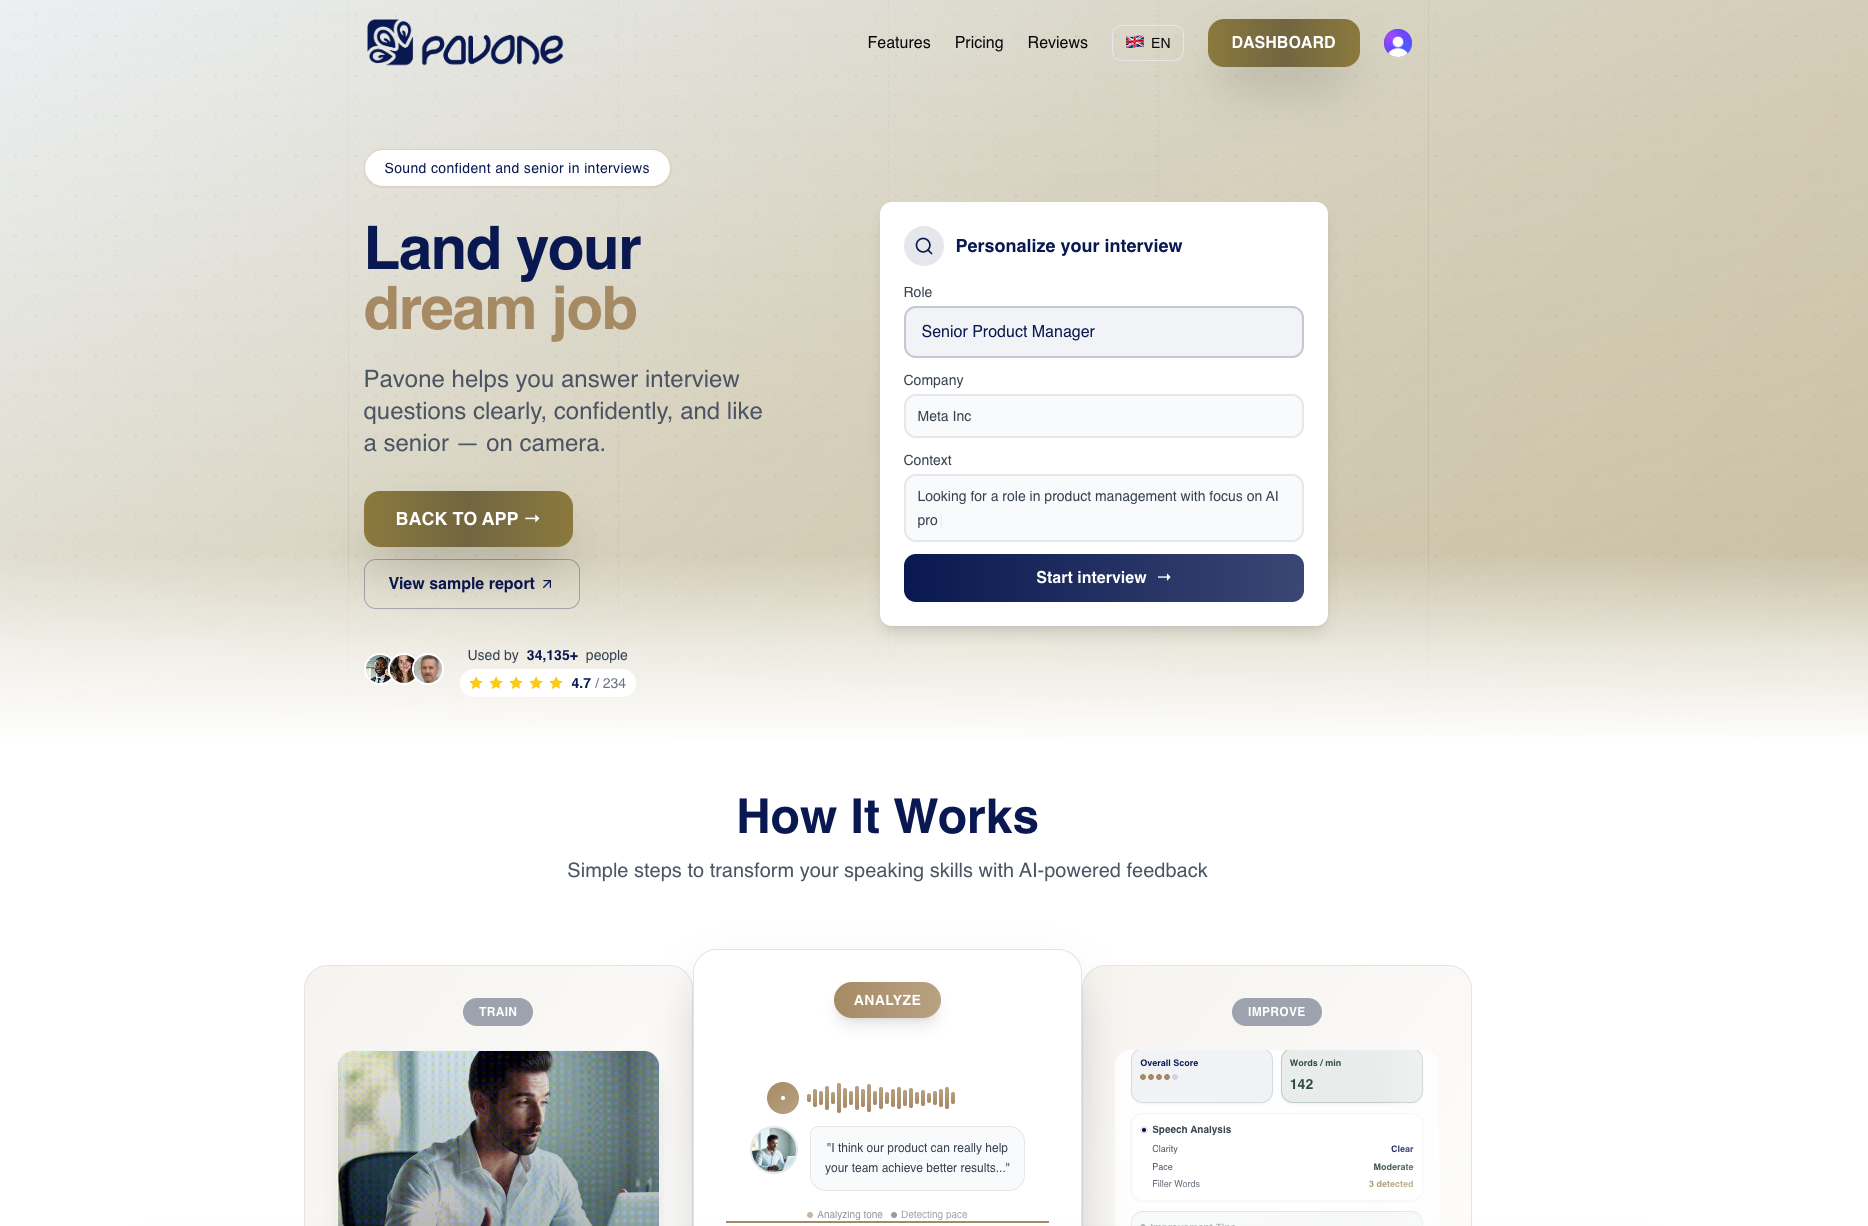
Ready to move beyond awkward practice sessions and vague self-critiques Use Pavone.ai to practise with a wide range of realistic interview questions in a private, pressure-free environment. Track your improvement on clarity, delivery, and confidence over time to build genuine momentum. Don’t wait until your next interview to wonder what you could improve. Start practising smarter today at Pavone.ai and transform your interview performance through focused, measurable progress.
Frequently Asked Questions
How do I set up an optimal online practice environment for my interviews?
To create an optimal online practice environment, choose a quiet, private room free from distractions. Ensure your camera is at eye level and establish soft lighting in front of you to enhance your professional appearance on camera.
What types of interview questions should I focus on during my practice?
Concentrate on core competency questions relevant to your desired role, including both behavioural and situational questions. Practise responses that demonstrate your expertise by preparing 5 to 7 strong stories from your professional history that align with these competencies.
How can I evaluate my performance after recording myself?
After recording, review your performance by assessing clarity, pacing, filler words, eye contact, and body language. Focus on specific behaviours that need improvement, and score yourself on a scale of 1 to 5 to track your progress over time.
What is the STAR method, and how do I use it for behavioural questions?
The STAR method is a structured way to answer behavioural questions by outlining the Situation, Task, Action, and Result. Use this framework to detail your examples effectively, ensuring they are specific and linked to the job requirements.
How do I track my progress while practising interview answers?
To track your progress, create a simple spreadsheet that includes the question practised, attempt date, clarity score, filler words count, and key improvements noted. Regularly update this to identify patterns and focus areas for your subsequent practice sessions.
What is the recommended frequency for interview practice sessions?
Aim for three 30-minute practice sessions each week over four to six weeks to achieve the best results. Consistent practice helps solidify your improvements, making your responses more natural and automatic as your interview date approaches.
Recommended
Ready to practice?
Start improving your speaking skills with AI-powered feedback and analysis.
Try Pavone Free